diy · kids clothing · Kids fashion · ocean themed · Pattern Hack · pdf patterns

Making waves

Hey everyone!

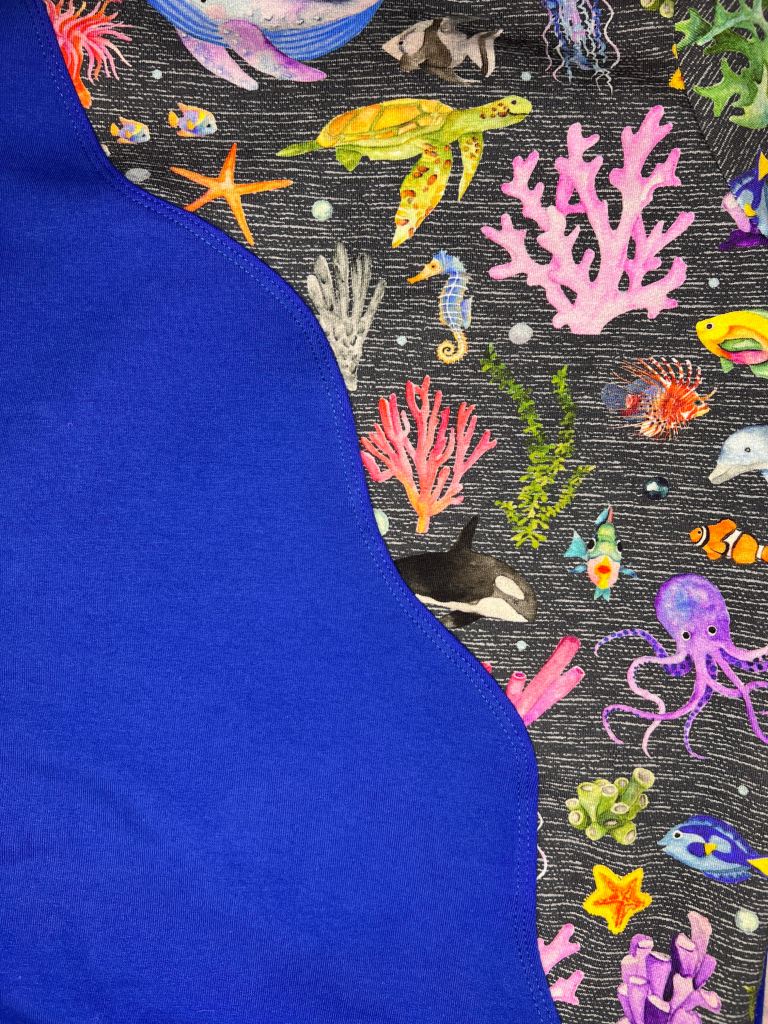
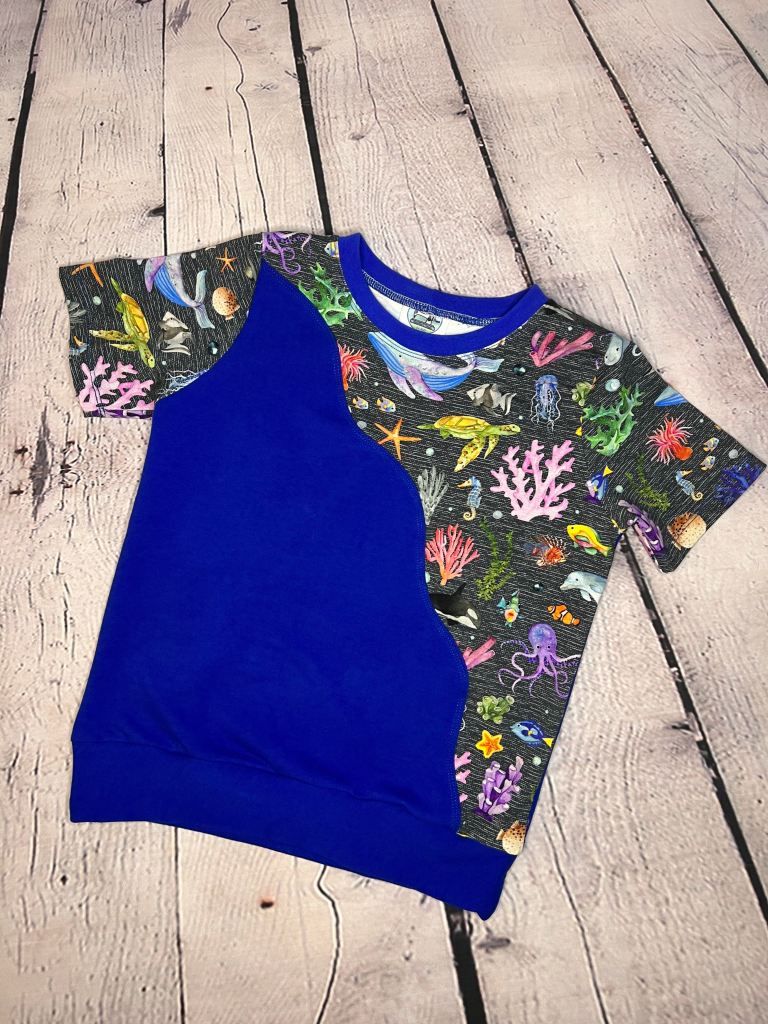
I’m here today to share a recent hack that I made to one of my favorite color block tee patterns, The Valerie from 5 out of 4 Patterns. I was actually inspired to do this hack from a sewist friend of mine, Kimberly from Bow Button Fabrics, who made one first. Recently, Kimberly released some custom ocean themed fabric in her shop and shared a make including those fabrics, and down the middle of the tee she hacked it to have a wave. By this point I had already purchased one of the fabrics to make Tayln a tee out of it. Kimberly always gets me with her prints that include turtles/tortoises and this print had, you guessed it, turtles. For those of you who don’t know our family consists of the 4 of us, 2 dogs and our pet sulcata tortoise.

Before starting my project, I reached out to Kimberly to make sure she was okay with me recreating her hack and if she had any tips. She had a different idea on how to attach the two pieces than what I was thinking. Again, with her permission I’m going to share how she did hers, so if you too decide to recreate this amazing hack, you’ll have options. Who doesn’t love options?! Here’s what she did, she cut out her pattern pieces including a wave, serged the raw edge of the sand portion, stabilized onto the blue/darker print, then cover stitched along the serged seam. I would have never guessed that’s how she did it. It looks incredible and so clean and the serged cover stitched portion is really eye catching.

Kimberly’s adorable tee shirt she made for one of her boys.

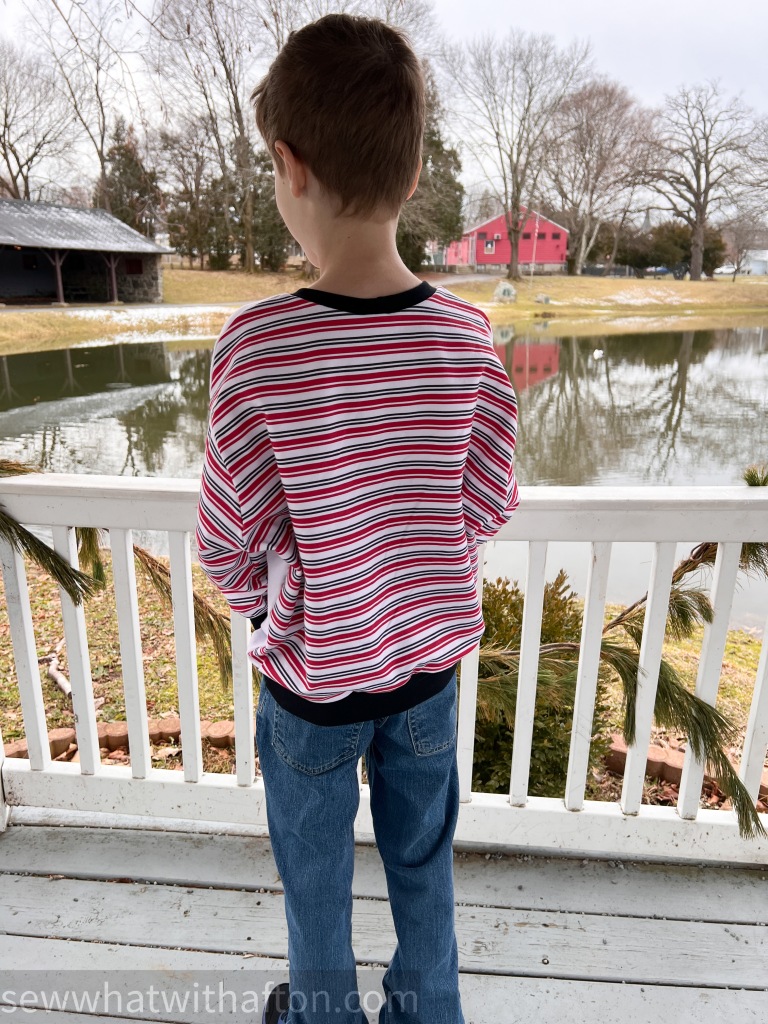
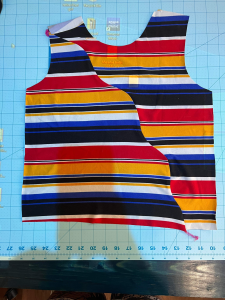
Before I cut into my luxurious ocean fabric, I decided to make a muslin out of some bright striped fabric that I received from a mystery box that I’m not particularly fond of. The last thing I would want is to cut into the intended fabric which is not cheap (but totally worth the cost) and run into an error and have that fabric go to waste. Which would honestly make me cry. Luckily, my muslin came together amazingly and exactly how I envisioned it, so I was able to move onto the real deal.

Muslin

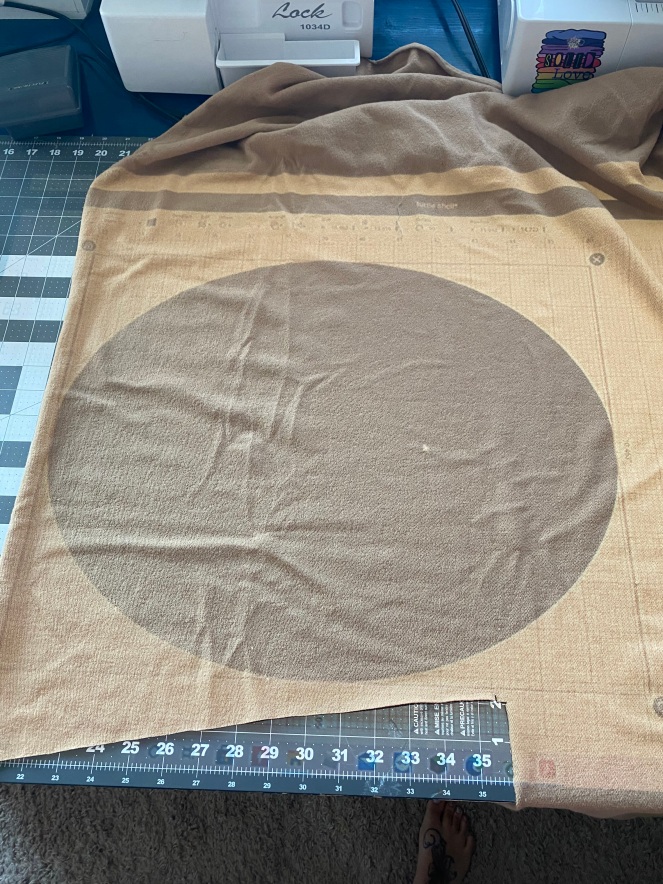
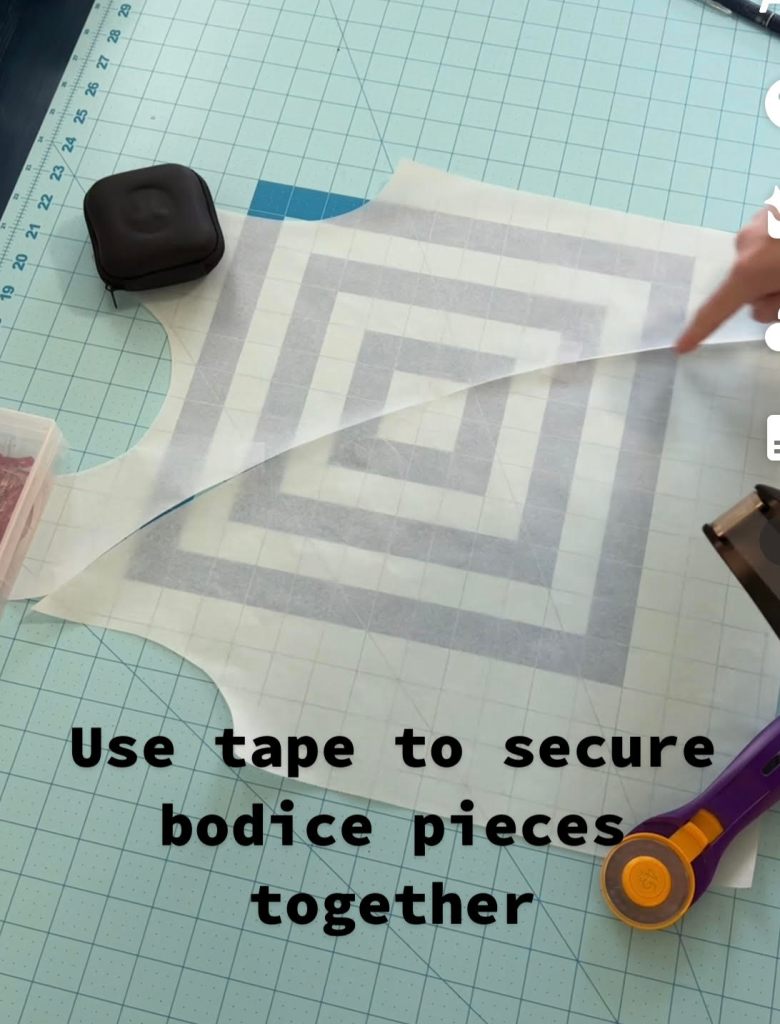
I use a vivimage projector to cut out all of my patterns, (yay for saving paper!) so, for this first step I used parchment paper to cut out the pattern pieces. If you still use your printer and tape together your pdf pattern pieces, then go ahead and do that as instructed. Once you have done either option, you’re going to tape together the bodice pieces. Next, grab a writing utensil and create your wave going between both pattern pieces. When you’re happy with the wave, remove the tape used to secure the two pieces together and use a pair of scissors or your rotary cutter to cut out those curves from both bodice pieces. Take those cut curves and tape them to the opposite bodice piece (left bodice cut curve is taped to the right-side bodice along the same curve to fill in the gaps)

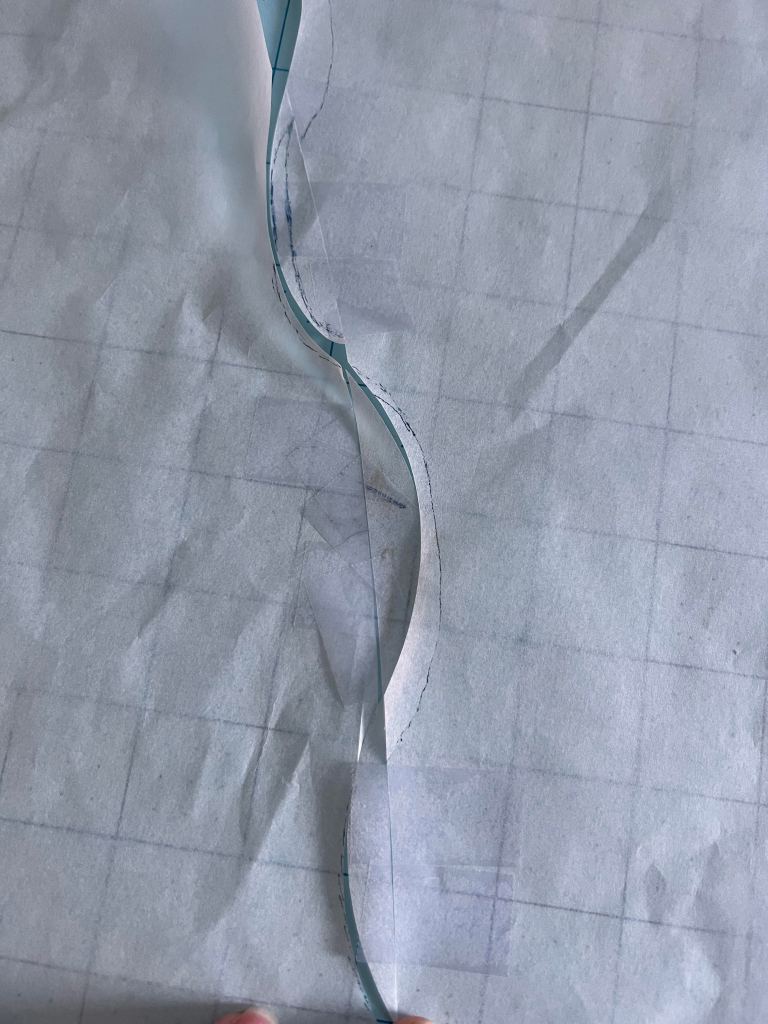
Place your bodice pieces over your chosen fabric and cut out. I chose to cut 1/4″ from my wavy edge to give myself a little more seam allowance but assuming you’re already using a color blocked pattern this step isn’t necessary as a seam allowance is already included. (Side note, be sure to cut out the correct necklines for front/back bodice pieces) Continue cutting out remaining pattern pieces per tutorial instructions.

How your pattern pieces should look after cutting out

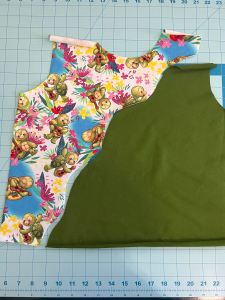
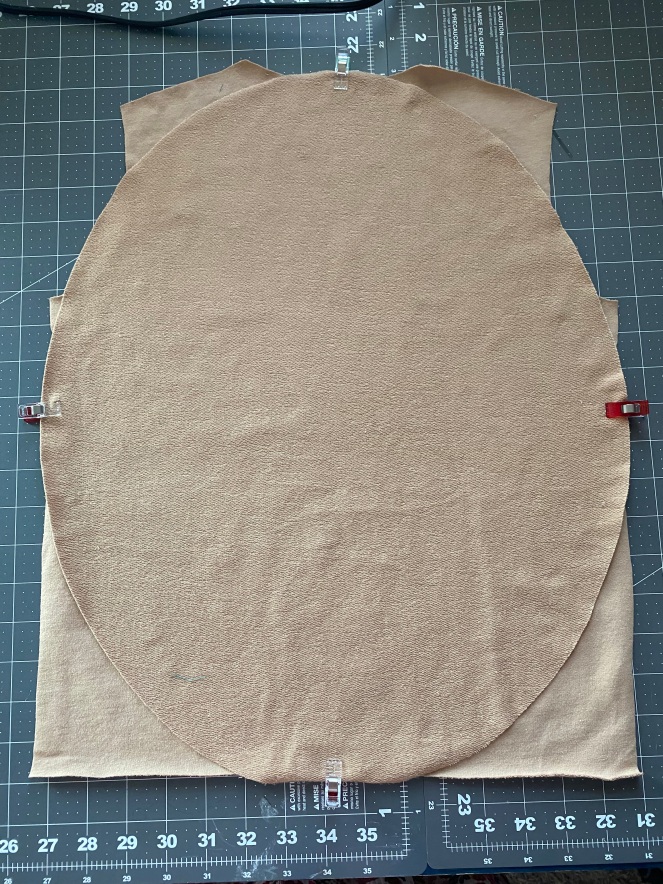
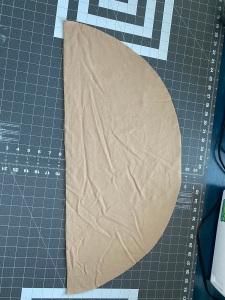
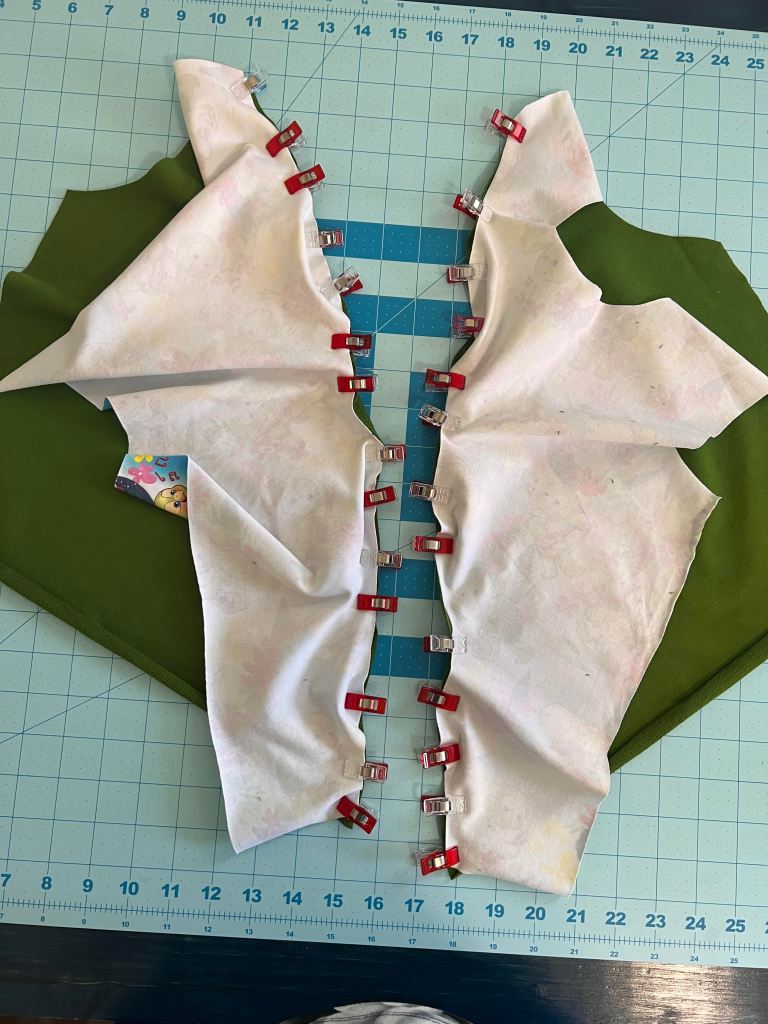
After all pieces have been cut out, we’re going to start on construction. Grab your two bodice pieces and place them right sides together. I started clipping along the curves then continued to clip along the edge. This should be a 1:1 ratio, do not stretch either of the fabrics to fit. Don’t be afraid of using too many clips to ensure the pieces are lined up as they should be.

Whether you use a serger or are using a zig zag stitch with your sewing machine be sure to go slow while stitching the two pieces together. Once your pieces are stitched together use an iron to press the seam to one side then top stitch if desired. Afterwards you will finish the pattern instructions per the tutorial.

Close up of top stitching along the seam.

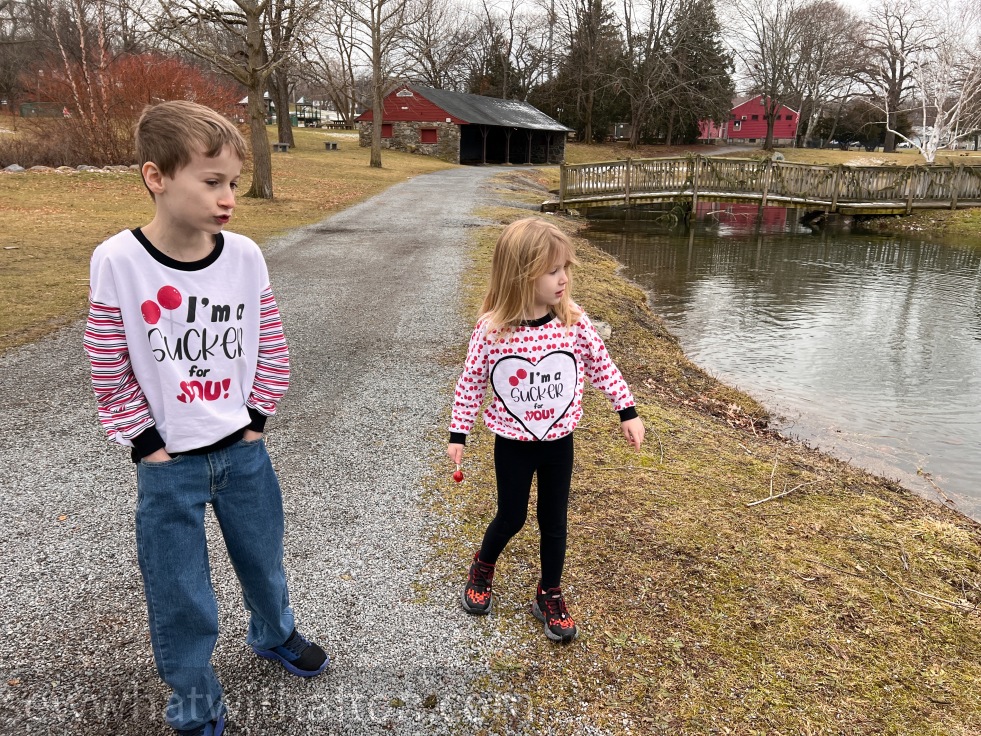
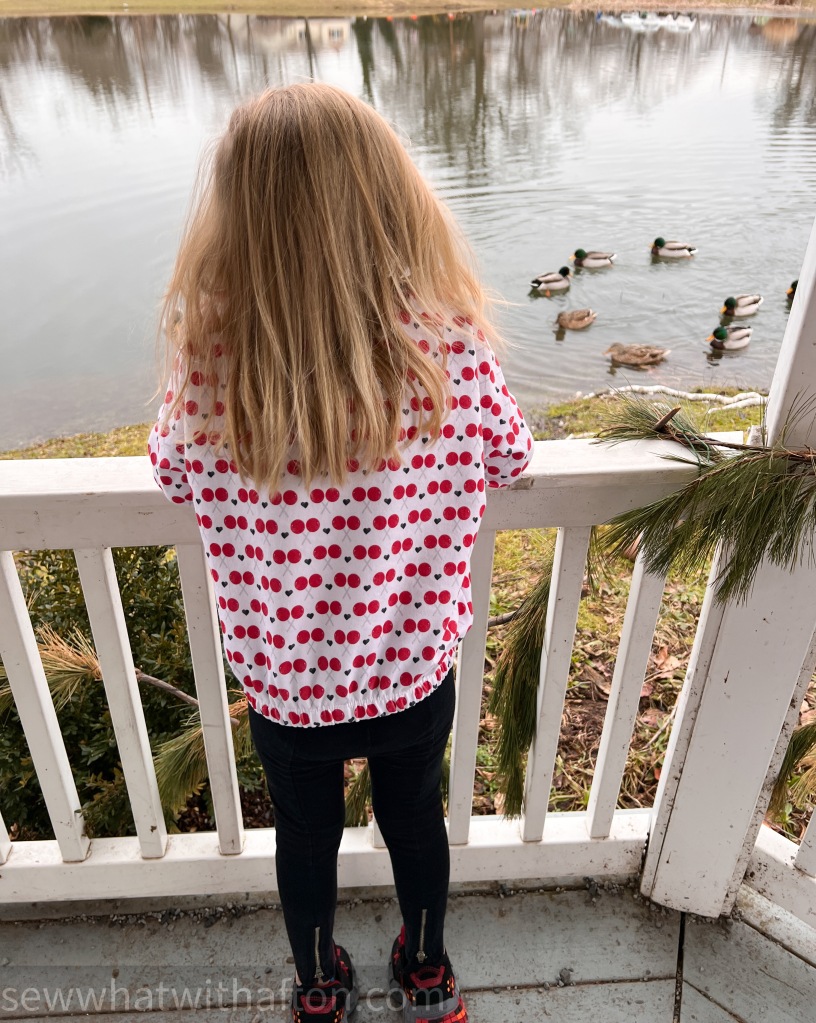
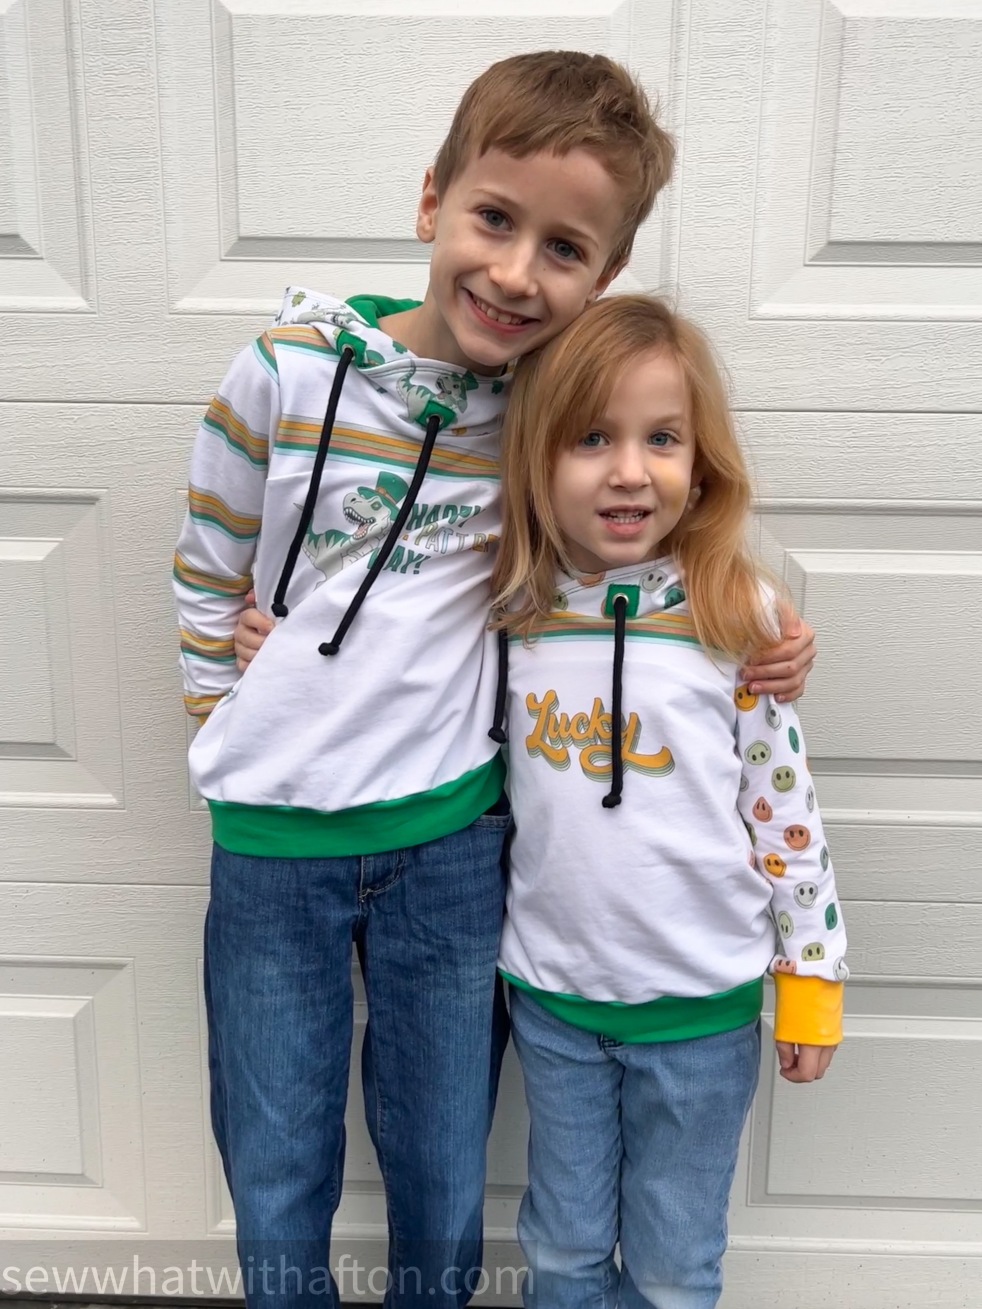
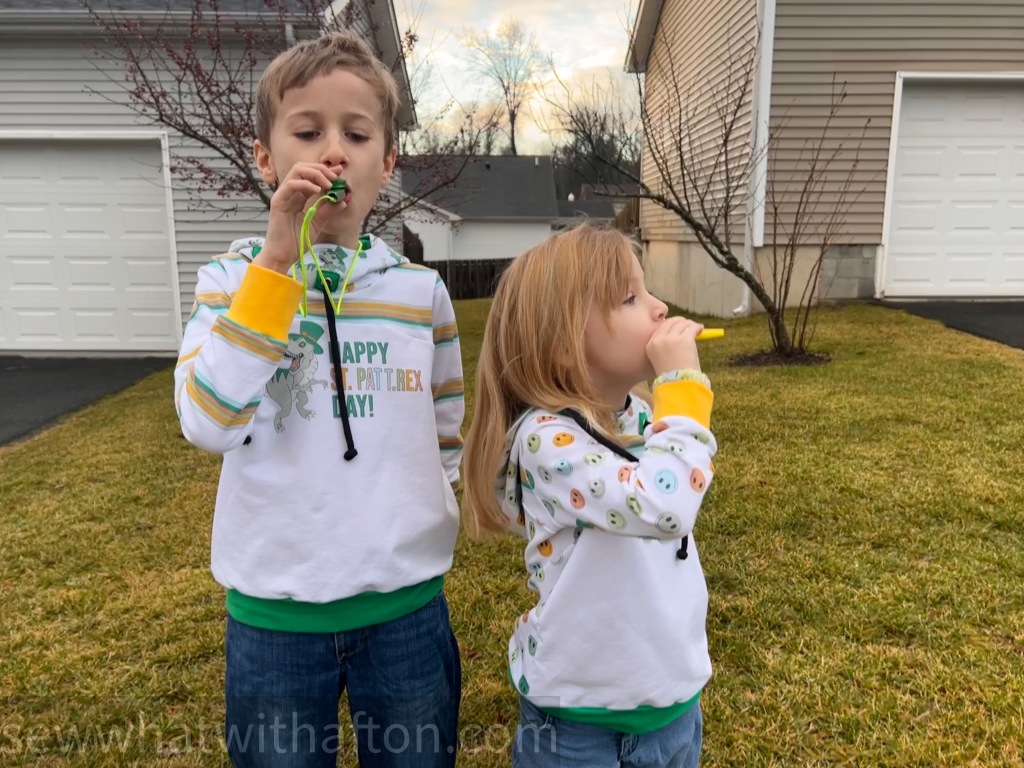
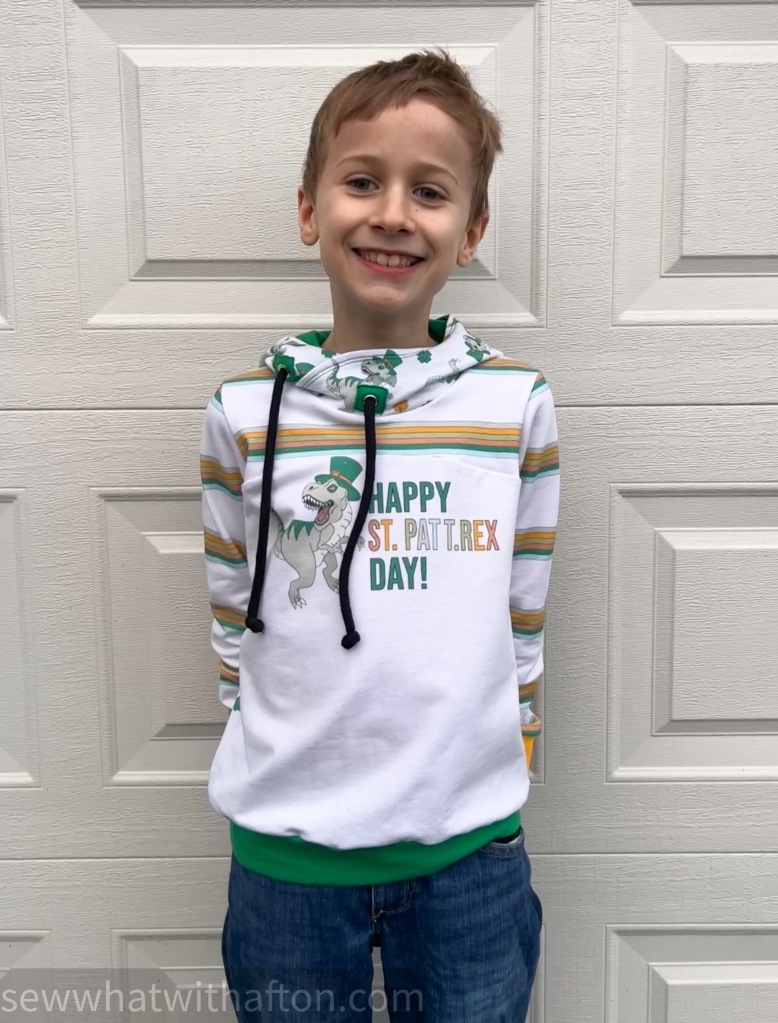
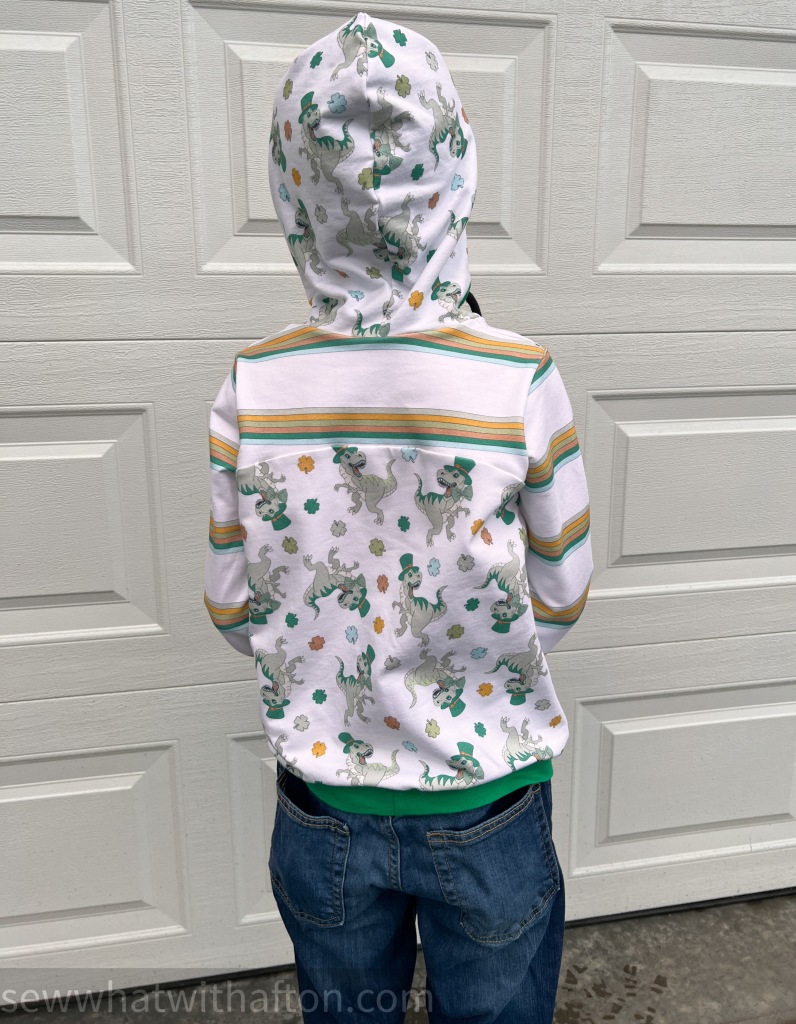
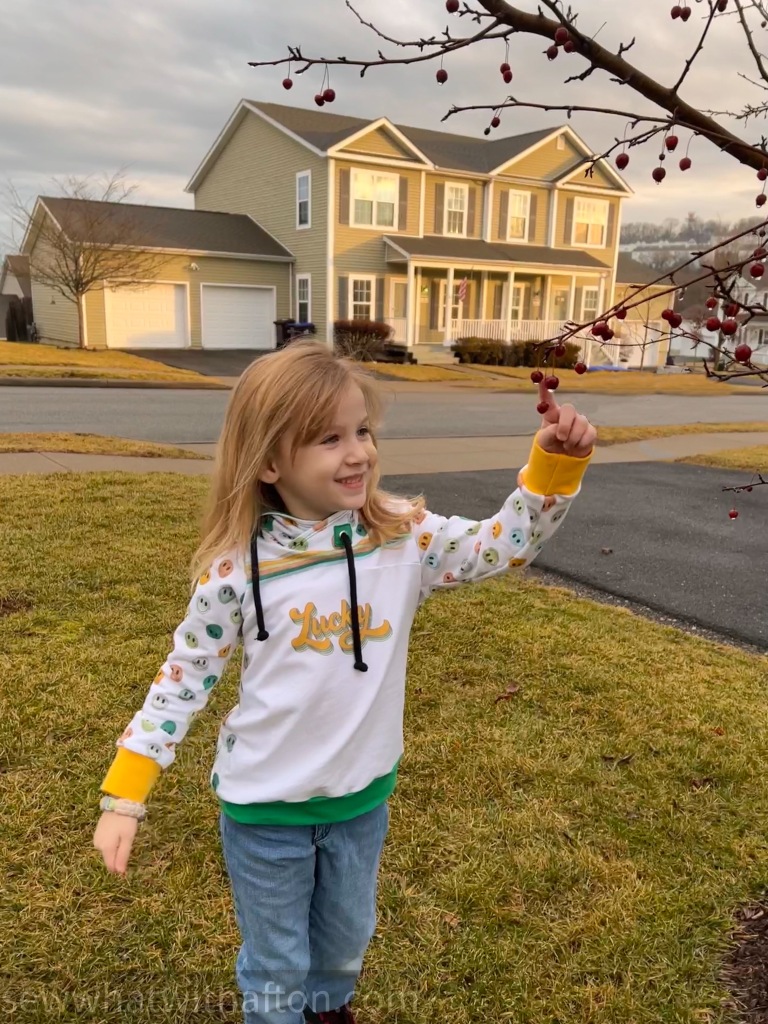
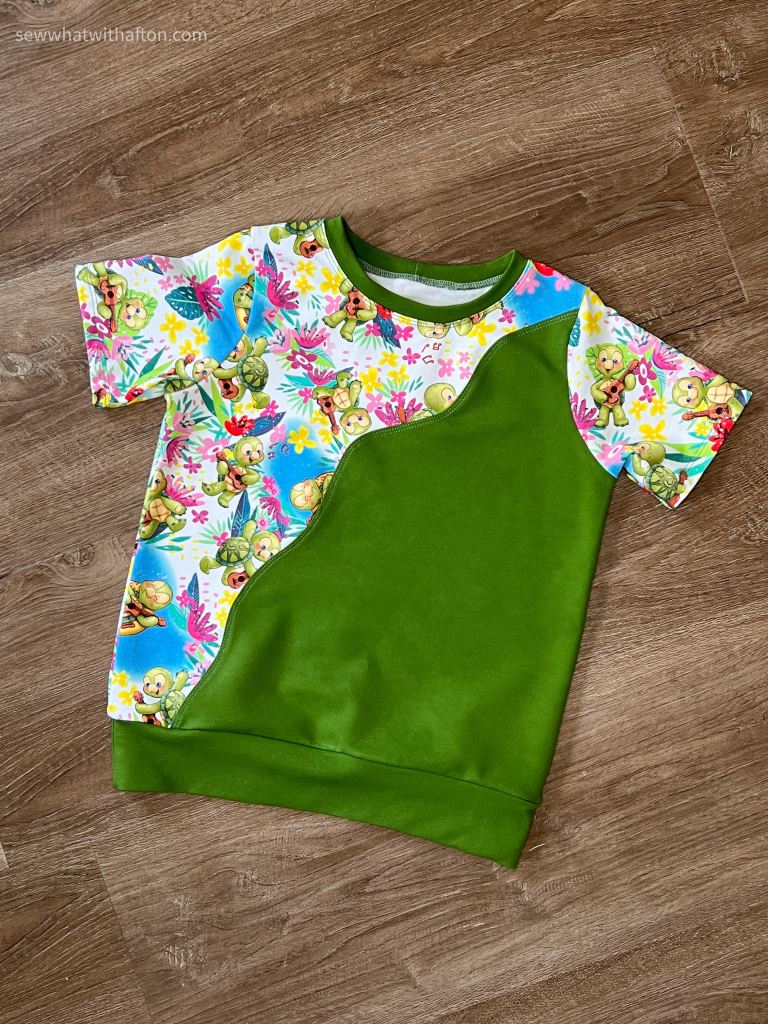
Now you’re done! Stand back and admire your work! I’m completely obsessed with this hack that Kimberly came up with! I’ve already made two shirts for my son and I’m sure as we head into spring and summer I’ll continue to make more. I also made a Tik Tok tutorial for this hack if you’re more of a visual learner. Thanks for hanging out with me today, I hope you enjoyed!

Fabrics not mentioned above.

Solid Blue French Terry from Raspberry Creek

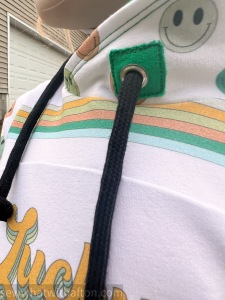
Royal Blue Cuff Ribbing for neckband from Bow Button Fabrics

Honu Turtle Fabric from Ohana Fabrics

Pickle French Terry from Bow Button Fabrics

Until next time,

Afton

This post may contain affiliate links. This means that if you make a purchase through this link, I may get a % at no additional cost to you. Thank you! Happy creating!

Halloween · Halloween costume · kids clothing · Kids fashion · Pattern Hack · pdf patterns · sewing · Tortoise · Uncategorized

Tortoise Costume

I briefly was a part of Raspberry Creek Fabrics blogger team (and absolutely LOVED IT!) I wanted to share it here as well. This has somewhat been edited since I originally wrote it. All photos and writing are my own.

Hello, I’m so thrilled to share my sons costume for Halloween (2021) with all of you. My son has been turtle obsessed for a couple of years now and has wanted one as a pet for just as long. Well, this past July we finally decided to add a baby sulcata tortoise to our family. We are all absolutely smitten with him or her (we won’t know gender until around 4 years of age). Of course, that only made his love for turtles grow more.

When I asked both my kids last month what they wanted to be this year I was not at all surprised when my son said tortoise. My mind immediately started to ponder ideas on how I could make this happen for him. I mostly couldn’t wrap my head around how I could create the shell while still allowing it to have volume and dimension. I took to google first to see if I could find any tutorials, that turned up no luck. I saw this as a challenge accepted, I would take this opportunity to try something new and really get my creativity flowing. 

I absolutely love RCF fabrics so I wanted to check what taupe/light brown shades they had available in the shop that would work for my vision. The khaki tan french terry fit the bill perfectly. All RCF french terry always amazes me with how soft and cushy it feels, my son was getting his dream costume but would also be so incredibly comfortable!! (Win, win!)

Once I decided on fabric, I moved onto what patterns I wanted to use as my base. For the pants I immediately thought of the Drew Joggers from Petite Stitchery Co. The rouching detail option perfectly depicts our little torts cute wrinkly legs. For the top I knew I wanted to attach the shell to a hoodie, I went with the Hannah from Sonia Estep Designs (which has since been discontinued) and used the crossover hood option from the add on pack. 

Rouching detail on the drew joggers.

For the base of the tortoise shell, I did a standard oval. Now, let me note that I have a projector and I have found that I love using it for more than just projecting patterns. I also have a Cricut, so I used design space to make an oval in the shape I wanted and projected it onto my cut mat, over the back bodice, to visualize how large I wanted it. Once I determined the size I wanted the oval to be, I cut it out. I then lined up the back bodice of the hoodie and centered the oval over that with right sides together. To secure the two I used wash away wonder tape, then measured 1.5” from the edge of the shell and sewed all the way around using a zig zag stitch. (You don’t want to sew too close to the edge or you’ll interfere with the remainder of the hoodie construction) 

Next, we’re going to work on the top of the shell. To make sure we can add volume but keep the sides at a 1:1 ratio you’re going to measure the circumference of the oval. I marked the top center and bottom center and measured the distance between those two points which came to 27.5”. You’re then going to make two half circles, the straight line being the measurement you got for your oval. The fun part is you now get to decide how large you want your shell to be, there’s no wrong answer here. Once you’ve made your two half circles, you’re going to use your serger or sewing machine to sew the two half circles on the curved edge right sides together. (I used a 1/4” seam allowance)

Half circles cut out.

Before attaching the top of the shell to the base I decided it would be easiest to add the scutes (the darker plates on the top of the shell) first. There are a few ways you can do this, you can use a fabric marker and draw them on, use another color of fabric and sew them onto the shell, you can use an embroidery machine, or use HTV (heat transfer vinyl). For my muslin I used fabric markers. While it didn’t look terrible a friend mentioned it gave Teenage mutant ninja turtle vibes and I must agree with her. The fabric marker was also inconsistent and didn’t give full coverage. So, I decided to go for HTV. I went back to my Cricut design space and made a mockup of the shell so I could play around with how I wanted my scutes to look. I found that using a standard hexagon shape but narrowing the height and bringing out the width it gave the look I was going for. After completing my mockup, I used my Cricut to print out the scutes in pieces. (With the round shape it would be very difficult to have it all in one piece) 

I started by finding the center of the shell and using a pin to mark it. I also marked the center points of the first scute I wanted to place and lined the two up. After adhering the first scute I worked from top to bottom then moving my way outward. This step was by far the most challenging. It took time and patience to ensure I didn’t iron on the htv with a crease in the fabric.

Now that the scutes are finished we are going to attach the upper shell to the base shell.  I’d like to note that before doing so I made a small little tail by cutting out two narrow triangle pieces out of the main fabric and one out of fusible interfacing. Once my tail was put together, I basted it to the right side of the shell base with the flat edge to the edge of the shell (you don’t want to cut off your tail!) You’re then going to sew the two shell pieces sides together. This means your back bodice will be sandwiched between the two. I marked the top and bottom center points of the base and matched the top shell pieces center points. Before stitching you’ll need to decide how you’d like to enclose your shell, (remember you still need to turn right side out, so you need to leave a small opening!) you can ladder stitch or use an invisible zipper. I went for an invisible zipper in a similar color so I could remove the poly filling for washes.

After turning the shell right side out, I then used a zig zag stitch and sewed around the entire shell to add detail and try to mimic what an actual tortoise shell looks like. My stitches are ¾” long and about 1” spaced apart.

Close view of the stitches around the entire shell.

Next you will finish construction of the hoodie pattern you chose before moving onto filling the shell. During construction of the hood, I added eyes and nostrils using black htv. If you have an embroidery machine, I think that would look even better! Sadly, I don’t have one yet. Finally, you’ll fill your shell with poly fill and sew it closed if you left an opening. Now we’re done! My son is absolutely in love with how it turned out and has asked to wear it whenever possible. I can’t wait for him to show it off to everyone this Halloween. 

Thanks for joining me today!

Until next time,

Afton

This post may contain affiliate links. This means that if you make a purchase through this link, I may get a % at no additional cost to you. Thank you! Happy creating!

kids clothing · Kids fashion · sewing · Uncategorized · Valentine's Day

I’m a sucker for you.

Or maybe lollipop, lollipop, I can’t decide. Either way I’ve been singing both songs in my head since we took photos.

Let me back up a little bit, yesterday my kids school district called a snow day due to an incoming storm. However, you’ll see this was unnecessary when you notice a lack of snow in our photos. I understand they were erring on the side of caution because the weather can be unpredictable. As I’ve mentioned in the past both of my kids have special needs. One of those needs is speech therapy (my son has apraxia of speech, and my daughter is suspected to have it.) Wednesday is our speech day, typically it’s after school but because of school closures our speech therapist reached out to us inviting us to come earlier in the day as the worst of the storm was expected to come in the afternoon. (Still, not very eventful here. Although I’m not mad about it. I hate the cold.) We accepted this offer, at first, I was extremely disappointed to hear about this “snow day” as both kids missed Monday, and my son missed Tuesday due to illnesses. I didn’t want them missing another day of school and I honestly needed a break now that they were feeling better. Then with more thought I turned a negative into a positive, we could spend time together having fun (we also went shopping to spend some Christmas gift cards of theirs) and, bonus, I could grab some photos and video of their new Valentine’s Day tops.

I had Tayln and Ellie wear their V-DAY shirts to speech therapy so we could try to grab photos afterwards. Speech is about 15 minutes away and because of this I’m still learning that area. After speech I decided to scope out the surrounding area for a place that could make for a great background. Much to my luck just up the road was a beautiful pond with a gazebo overlooking it. I pulled into the small dirt parking lot and asked my kids what they thought. They both agreed that it looked fun, so we unloaded from the car and headed towards the gazebo. It was so serene, and I could see it become a sanctuary to just be lost in thought and enjoy nature. To add to the excitement there were a handful or two of ducks swimming around in the pond. My kids were both so tickled and this brought my daughter to forget why we were there in the first place and just wanted to look at the ducks. My son on the other hand was like, okay, we’re here for pictures can we do that first then enjoy the ducks? Because it’s still winter and it’s cold. These ducks must be fed by visitors often, as they continued to follow us wherever we went, my kids thought that this was the coolest thing. My son started spouting all the information he had on ducks, how the males are called drakes and they are the ones that are green and brown. The females are primarily brown with black specks. I was so amazed by his knowledge of this! Okay, anyway….

My son’s choice of fabric was this red and black multi-stripe from Raspberry Creek Fabrics which is part of the “For You” collection for Valentine’s Day 2023. I showed him the adorable panel that would pair with it and said yes, I now opt for the adult panels for Tayln. We chose French Terry for the fabric base to make sure he would be warm and cozy. I’m a sucker for Bow Button Fabric’s ribbing (see what I did there), so that is what I used for the neckband, cuffs and waistband. The ribbing she carries has a great stretch and recovery and it holds a press SO WELL! Sav’s sweatshirt from Greenstyle Creations is my all-time favorite slouchy sweatshirt for adults and kids. Tayln is usually between sizes in all patterns because he is extremely slender but also very tall for his age. For this pattern he was between size 7 and 8, I chose to make a straight size 8 since this pattern is already intended to be slouchy and oversized. When he first tried this on, he was unsure about it and in his words thought it “looked girly.” I reassured him that a girl or boy could pull it off and that he looked very handsome in it. This made him feel much better about wearing it. What do you think? Doesn’t he look so handsome and very cozy?

My daughter was a complete spit fire when it came to taking these photos. As I stated before, she saw the ducks and that was all she cared about. After my son finished his pictures, I pulled a lollipop out of my pocket to give to him as a thank you for taking pictures. (The pictures are for me; they could care less about them.) This caught Ellie’s attention rather quickly. “WAIT! YOU HAVE LOLLIPOPS?! I WANT ONE!” I reminded her that she would earn hers after some photos. She pulled herself together (somewhat) to take pictures. The idea of this soon to have a yummy lollipop brought a huge smile to her face while she proceeded to try and stand still but couldn’t help but jump up and down yelling “lollipop, lollipop, lollipop” over and over.

Ellie did not much care to pick out her V-DAY fabric, so I chose for her. I know she loves candy, so of course she’d love the Red Black and White Sucker Heart Print Fabric. This is also from the same “For you” collection from Raspberry Creek Fabrics. I again, chose French Terry as the fabric base (and also used the same ribbing as what I used for Tayln’s.) In 2021 I made Ellie a Hannah hoodie from Sonia Estep designs, which has since been discontinued. I used a neon fuchsia and carmine brushed French Terry from Fab Clique Fabrics and cut out a heart shape to make as the front pocket as I did for her hoodie last year. I also included elbow patches. Since then, I’ve decided to incorporate a heart applique to her Valentine’s tops.

I was initially so torn on which pattern to use for Ellie. Ultimately, I decided on the Janie top from Petite Stitchery Co. I considered making the panel a pocket like I did last year but decided it would take away from the elasticized waist in the pattern. After I cut out the pattern pieces, I took the front bodice and placed it face up on my cutting mat. Using a projector to cut out patterns is such a game changer and time saver (and it saves some trees), anyway, I like to open Cricut Design Space and add a heart shape design. With the projector I am able to project this image over my cut mat, the same as I do when cutting out a pattern. From there I play around with the sizing I want to use for the front applique. I am a visual learner so this helps me to ensure I will be happy with the final outcome. Once I decided on the sizing, I removed the bodice from the cut mat and centered the panel with the heart. (I still use youth panels for Ellie by the way.) Then I simply use my rotary cutter to cut out the panel. I was afraid that the panel alone against the sucker/heart fabric would blend too much so I cut out a slightly larger heart in black French Terry to separate the two fabrics. This also helped bring out the small hearts in the fabric. I write in more detail on this from last year’s blog post if you’d like more information on how I added it to the bodice etc. This will help me from repeating myself (I already do that enough as a mother, LOL)

I think that’s it for me for today! We definitely made some fun new memories yesterday and I plan to bring them back to this gem again. It’ll definitely be more enjoyable once it warms up. I also made a TikTok featuring some video from our shoot if you want to check it out! I hope I gave you fellow crafters some inspiration today, and if I did, please let me know because I’d love to hear! Always be true and always be you.

Until next time,

Afton

Saying goodbye to the ducks on our way back to the car.

This post may contain affiliate links. This means that if you make a purchase through this link, I may get a % at no additional cost to you. Thank you! Happy creating!

kids clothing · Kids fashion · sewing · St. Patrick's Day

If you’re happy and you know it!

Cue the kazoo music, okay but seriously, thank you so much to those who reached out to me about my last blog post. You seriously touched my heart and made my day. Now onto today’s topic. I always look forward to Raspberry Creek Fabrics holiday fabrics, the designers are amazing and they’re always offering something unique. My most recent order from them consisted of Valentine’s, St. Patrick’s, and Easter fabrics. Since I started sewing clothing for my family, it has truly become a tradition to sew them a new top for every holiday. Okay, not every holiday, but several of them. I had a very productive week sewing together 3 tops for each of my children and a pair of leggings for my daughter. I’m going to start by sharing my children’s St. Patrick’s Day hoodies because well, that’s what they wanted to wear to school today. As I stated in my last post, we now live in the state of New York. (No not the city, the suburbs) although both my kids love to call New York the “big apple.” This means that we have more cold months than warm months. (Huge Bummer!!) It also means that I can’t do cute bubble shorts or tanks quite yet. I had to remind myself of this when ordering from RCF and planning out patterns I was going to use. I so desperately wanted to make Ellie a pair of bubble shorts for her Easter outfit, because omg little girls in bubble shorts. ADORABLE! Then back to reality, it will most likely still be pants weather come Easter. Oh right, back to St. Patrick’s Day.

Like I said, cue the kazoo music. My son got a kazoo in his music class yesterday, so we’ve been humming tunes since.

I almost always let my kids pick out their own fabrics, coincidentally they both picked out fabrics from the Happy Paddy collection by Bri Powell. My son immediately said, “the dinosaur!” as soon as he started looking. I mean a t-rex wearing a leprechaun hat, how creative and fun! My daughter chose the smiley faces for herself. Aside from the yellow cuff ribbing (which is from Bow Button Fabrics) all of the fabric bases are French terry for these projects. The pattern I chose is the Be Creative hoodie from Ellie and Mac patterns. Ellie and Mac are the true champion when it comes to color block patterns! I love to color block; it just adds a whole new creative aspect to any pattern.

I chose a panel for the front bodice of both hoodies, I also used the retro stripes (which do look so retro, makes me think 70’s) as the top color blocking for both the front and back. I didn’t want Tayln’s hoodie to be too much t-rex so that’s why I continued the stripes for his sleeves. Ellie’s on the other hand, I felt would look better with the smiley faces for her sleeves. While nothing is wrong with having too much t-rex or any of one pattern for that matter, it’s just not the look I was going for. I really wanted each fabric design to stand out in their own way. This is the third year I have included the solid Kelly green into their St. Patrick’s Day tops. This has never been intentional, it’s just that perfect bright green that you think of when you think St. Patrick’s. Then again, that solid has always been included in the fabric design we pick every year, so really, I’m just trying to match. LOL. Although, I may make a point to make using Kelly green as a tradition, because why not?!

I have made Tayln a Be Creative Hoodie once before, with that one I did a plain hood with no grommets, drawstring etc. This time around I wanted to give it a shot. While I have worked with grommets several times, I’d never done patches. Now I know this is such a simple addition, it still adds extra detail to the hood which I love. I used my best friend, aka wash-a-way wonder tape to keep the patches secure while I stitched them into place. Typically, I make my own drawstrings for projects using fabric, this time I used a black polyester cable/pillow cord from Wawak. I initially planned to use a similar white polyester cable/pillow cord, but I didn’t pay enough attention to the size difference and when it arrived, I was shocked, it’s twice the size of the black and just makes me think of a rope you’d use to tie back your drapes. So black it was, and what a happy accident it turned out to be because it really brings out the black in the print, specifically the smiley faces.

It never seizes to amaze me at how a simple yard of fabric can become whatever you dream it to be. I think that’s it for this blog post, I hope you enjoy it! Always be true and always be you. (My new mantra for myself, but that’s for another time)

Until next time,

Afton

This post may contain affiliate links. This means that if you make a purchase through this link, I may get a % at no additional cost to you. Thank you! Happy creating!